
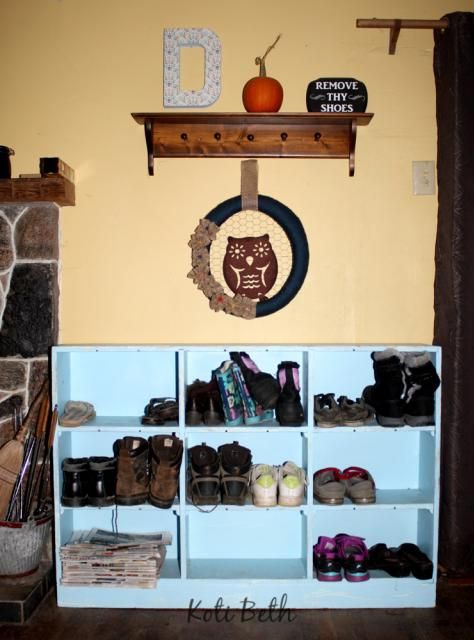
You can image what my entry way looked like! To make matters worse, my back door -- the door everyone uses -- is in my dining room. People walked in and there were shoes and boots strung from one end of the room to the other end.
Oh, we tried telling them to keep their shoes on the rug. We tried a hanging shoe organizer behind the closet door, which is across the room. You can guess how that worked out. I was done with the shoe pile, so I turned this old cubby in to a shoe organizer. It's not the most attractive way to organize shoes, but it works.
 |
| The newspapers are for the fireplace. |
I bought this cubby at our school's auction last summer. I don't think I paid more than $5 for it. My husband thought I was crazy because it had no less then a bazillion coats of paint on it, most of which was chipped off. And it was a hideous mint green. Yuck. But I convinced him to load it up anyway, so it sat in the chicken house for several months until I lost it because of the pile of shoes.
I had used premade chalk paint before, but I wanted this in this specific shade of blue because I had an entire gallon of latex paint, and I knew that I would be painting more pieces. There are several recipes, but I settled on using plaster of paris. I used that recipe because Kathe and Cathy said to use it! And I could buy plaster of paris locally. When I want to do a project, I want it done right now and not have to wait for supplies!
This is what I started with. It really looked awful because the many coats of paint were so thick and globbed on. It was used in the classroom, so I don't think they really cared what it looked like.

First I sanded it with an electric sander. I really like my mouse sander because it gets in the corners. It did a great job smoothing out the rough paint.
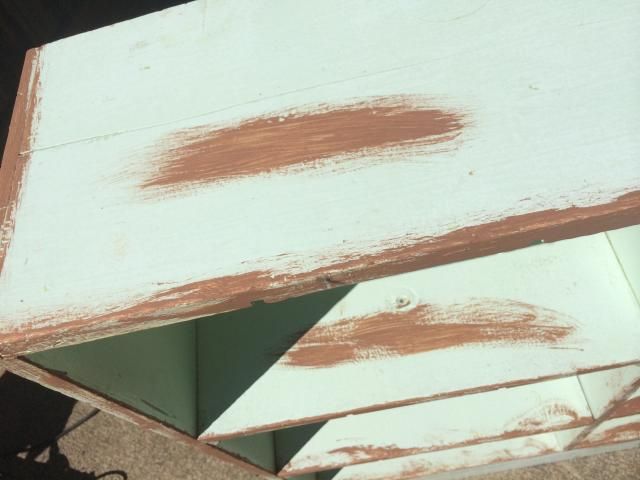
I wanted to distress it, but I knew I couldn't sand it down to the wood. What little wood I did see was light, so it wouldn't have worked for the distressed look anyway. I used brown acrylic paint on the edges and in random spots on the shelves and top. Then I covered the brown with a thin layer of Vaseline so the paint would come off easier. I took a pic for this blog post and so I could see where I put it.

How to Make Chalk Paint
I took a clean plastic container (from butter actually) and mixed together 5 tablespoons plaster of paris and enough water to make a paste.
Then I put 2 cups of my paint in a clean ice cream bucket and slowly added the plaster and water mix. I stirred it really well and started to paint.
This paint goes on great! It sticks great and covers very well. I did end up using two coats several hours apart. I let it dry overnight and sanded it again. I did this by hand and with the sander. If you use a sander, go very light because it will take off the acrylic paint.
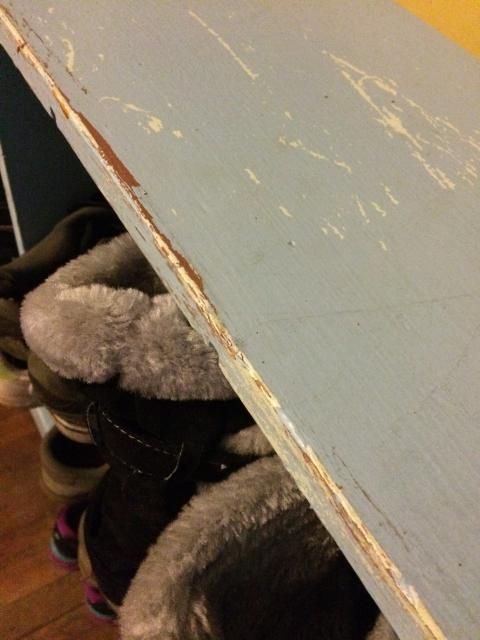 |
| See my fuzzy boots? They are so warm! |
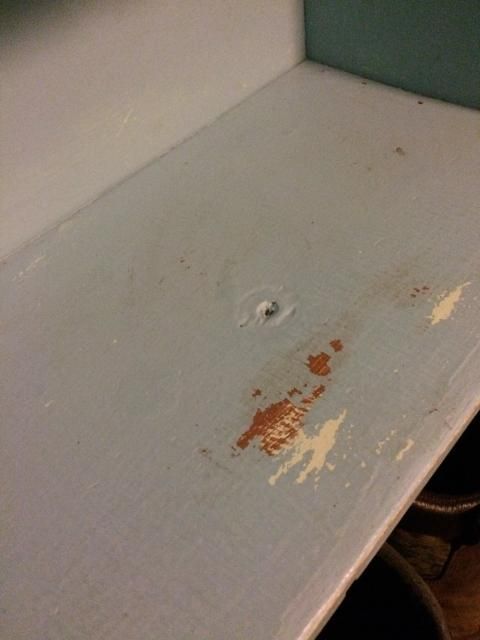 |
| There are random holes on the shelves. I didn't fill them in because they will be covered. |
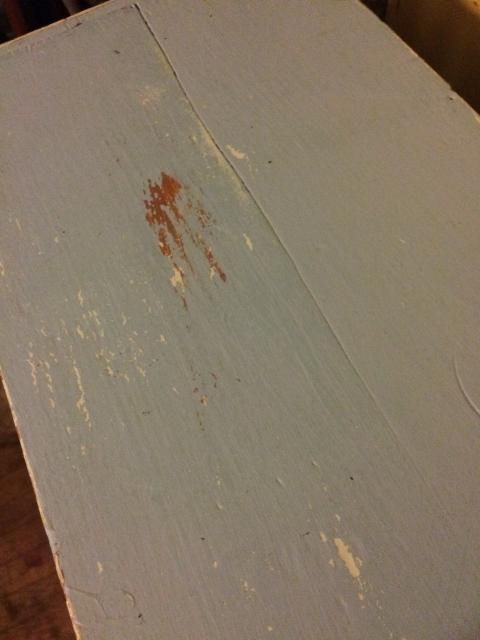 |
| When I distressed it, I got brown, green, and a little bit of the wood. |
To seal it, I rubbed Minwax Finishing Paste on it and wiped it off. It protects the finish without making it shiny!
Ta da!
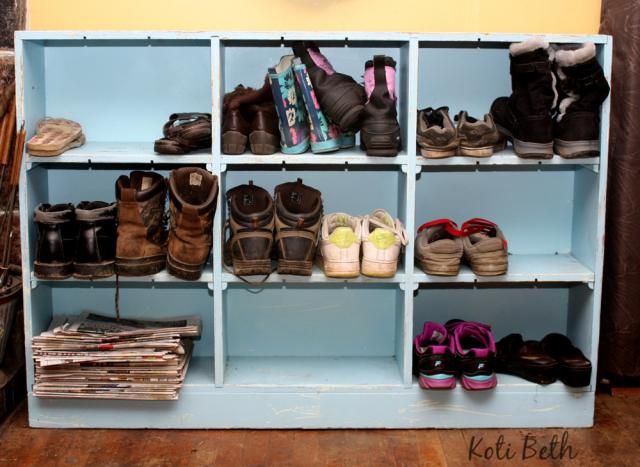 |
| That's not even all of our shoes! |
And here's a before and after for comparison. I love it!

